



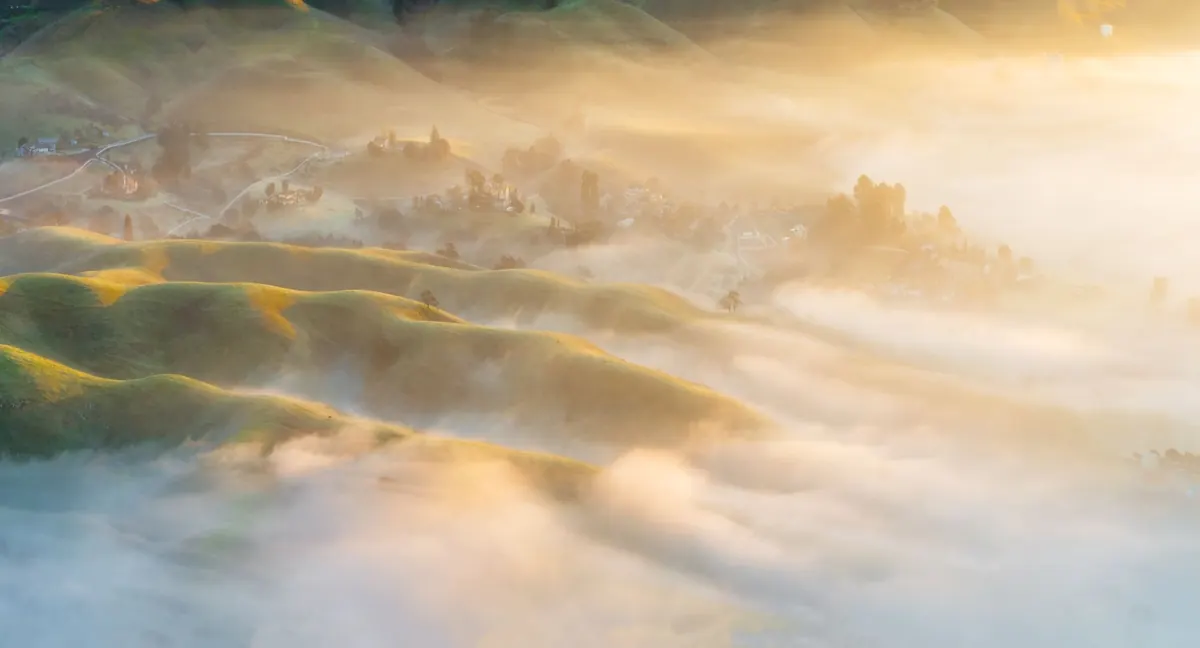
The alarm goes off at an hour that feels like a mistake. Forty minutes later you are standing on a chalk track above the Weald with cold hands and a tripod, watching the sky shift from charcoal to apricot. That is the trade the North Downs offers: a slow, generous light that rolls along the ridge and turns a path you have walked a hundred times into something worth framing. Sunrise photography is mostly preparation, a little patience, and knowing what to do when the light changes faster than you expect.
Plan it the night before
Sunrise is a fixed appointment, so the planning happens in the evening. Check the exact time of sunrise, not just the hour, because the useful light starts well before it. Aim to be on location forty-five minutes early: that gives you the last of blue hour, time to find your composition, and a calm minute to check focus.
Two free tools do most of the work. A sun-tracking app shows the compass bearing the sun will rise on and where it will sit relative to your viewpoint; a weather app tells you whether there will be anything to photograph. In southern England the sun rises roughly north-east in late June and south-east in December, which means a viewpoint that works beautifully in summer may give you nothing in November. Check the bearing before you drive anywhere.
For weather, look at three things: cloud cover, wind, and whether the overnight temperature will drop to the dew point. Mist forms when the air cools to that point with only light wind, which is why autumn and early winter give the best odds of valley fog. Broken cloud is better than a clear sky, and better than solid overcast. A sky that is 30 to 50 per cent cloud often produces colour; a flat grey lid rarely does.
Choosing a viewpoint that works at dawn
The North Downs give you two very different pictures. Stand on the scarp, the steep northern edge, and you look out over the Weald while the sun comes up behind or beside you, lighting the ridge and pooling mist in the fields below. Walk the dip slope or the wooded tops and you get enclosed, quieter images with light filtering through beech and yew.
Decide which you want before you choose a spot, then reccy it in daylight. Note where you can park legally, whether there is a gate or stile to cross in the dark, which direction the path runs, and what sits in the foreground. Look for three layers: something close and solid, a middle distance of ridge lines, and a far horizon. Box Hill, Colley Hill, Reigate Hill, Newlands Corner and the Wye Downs all offer this kind of layered view, and there are quieter corners of the same escarpment with nobody else around.
If you are on National Trust or council land, check opening times for car parks. Some gates stay locked until well after sunrise. Walking in from a roadside lay-by is often simpler, provided you park considerately and can find the entrance again in the dark.
What earns its place in the bag
- A tripod. Essential for blue hour and for keeping your composition fixed while the light moves.
- A remote release or the two-second timer. Either removes the shake from pressing the shutter.
- Spare batteries, kept warm. Cold drains them quickly. Carry spares in an inside pocket.
- A head torch, ideally with a red mode so you keep some night vision.
- Two lenses. A standard zoom for the wide view, and a short telephoto for compressing misty ridges into stacked bands.
- A soft-edged graduated ND filter if you use one, though bracketing does the same job on a tripod.
- Lens cloths. Dew forms on front elements within minutes and it will ruin a good frame.
- Warm, layered clothing, thin gloves you can work dials in, and boots with grip. Chalk paths are slick when wet.
Before you leave the house, clean the front element, format your cards, and set the camera to its lowest base ISO. Fumbling these things in the dark costs you the best ten minutes of the morning.
Handling the changing light
Blue hour, roughly 45 to 15 minutes before sunrise
The light is dim and cool, and exposures run from a second to several seconds. Keep the aperture around f/8 to f/11, ISO at 100 or 200, and let the shutter do the work. This is a good time for wide views with long, soft gradients and for any shot where you want the mist to look still.
The turn, and the fifteen minutes after sunrise
Colour arrives quickly. Expose for the brightest part of the sky and let the land fall dark, or bracket three frames a stop apart and blend them later. Check the histogram rather than the back screen, since a bright sky on a dim monitor always looks closer to blowing out than it is. Counter-intuitively, the moment the sun clears the horizon is often not the best frame. The light is usually finest five to twenty minutes later, when it rakes sideways along the ridge and picks out individual trees and fence posts.
Hard light, 45 minutes on
Once the sun is up properly, contrast climbs and the mist burns off. This is when you turn to rim light, long shadows across stubble, and shooting into the sun for flare. Shelter the front element with your hand or a hood, and avoid pointing a long lens directly at the sun for any length of time. Do not pack up when the sun appears. A cloud bank crossing ten minutes later sometimes delivers the best colour of the morning.
Composing on the downs
Layers are what make a North Downs sunrise read as a landscape rather than a snapshot. With a short telephoto, stack the ridge lines one behind another, each paler than the last, and expose for the brightest mist so the far ridges hold their shape. With a wide lens, put something solid in the foreground: a dew-covered gate, a lone hawthorn, a trig pillar, a run of fence posts following the path downhill. That anchor is what gives the eye somewhere to start.
You do not have to include the sun. Side light on a beech edge, or the warm band of sky reflected in a puddle on the chalk, is often a stronger picture than an orange disc in the top third of the frame. Move around within one location rather than driving between three; the light is changing while you travel, and the second spot is rarely better than the first. Rotate the camera to vertical for the layered valley views, and try placing the horizon high or low rather than straight through the middle.
Your first sunrise, step by step
- Check sunrise time, sun bearing and the overnight forecast the evening before.
- Charge batteries, clean the lens, pack a torch and something warm to drink.
- Arrive forty-five minutes before sunrise and set up in the dark while your eyes adjust.
- Start wide for blue hour, then switch to a tighter composition as the colour builds.
- Expose for the sky, check the histogram, and bracket if the contrast is extreme.
- Stay at least half an hour past sunrise. The second wave of light is often the best.
- Tell someone where you are going and when you expect to be back; mist and icy chalk paths both make the downs less forgiving than they look at midday.
Keep the first attempt simple: one location, one composition, and the patience to watch the light rather than chase it. The downs will still be there next weekend, and you will know the place better than you did this morning.
Photo: Zetong Li / Pexels
Related posts
More stories you’ll love reading